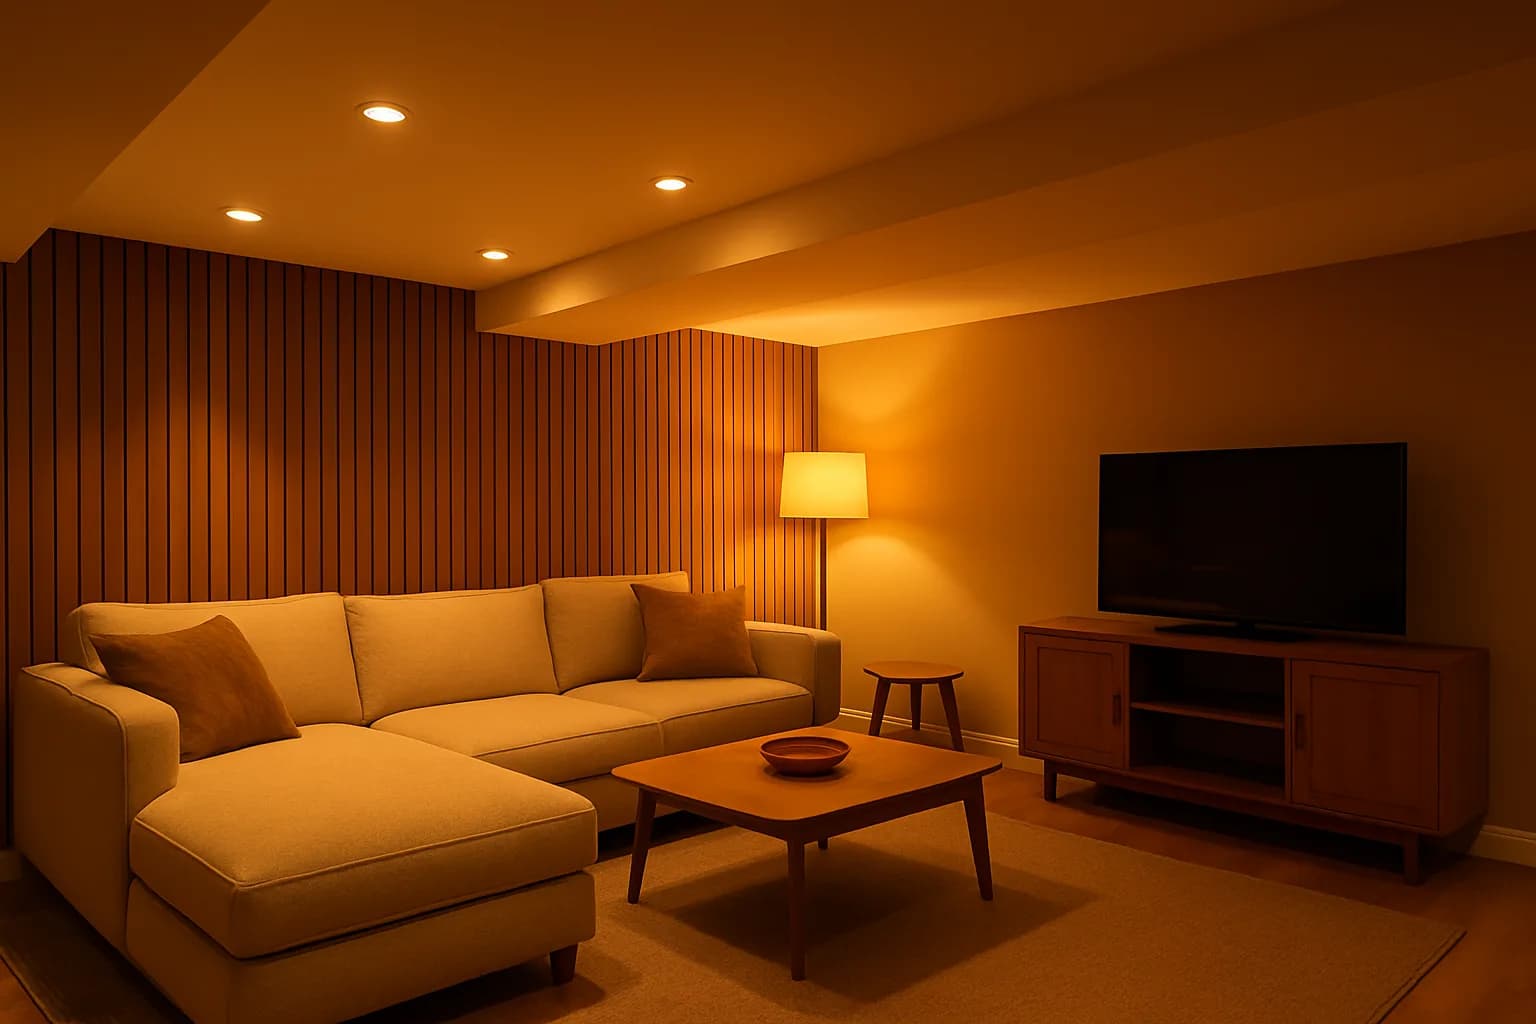
Finishing a basement in Ontario is a 15-step process that runs 4–8 weeks depending on scope. The order matters — skip a step or reorder them and you either fail a code inspection or trap moisture behind a finished wall. Here's the actual sequence we follow, plus which steps a DIY-capable homeowner can realistically do.
Step 1: Moisture Assessment (Day 1)
Before anything gets framed, we run moisture readings on the concrete slab, inspect the perimeter walls for staining and efflorescence, and check the perimeter drainage. A dry basement with 8–12% concrete moisture is ready to finish. A basement with 15%+ moisture or active seepage needs waterproofing before framing.
If there are active leaks: stop. Don't frame. Fix the water first. Framing over active moisture is how you get mold behind drywall in 18 months.
DIY-able? Yes for visual inspection. Get a moisture meter from any hardware store ($30) and read the slab in 5 spots.
Step 2: Layout Plan + Permit Application
The layout plan lives on paper before it lives in the basement. Walls, doors, egress locations, plumbing, electrical. This becomes the permit drawing. Submitted to the City with the permit application.
Kitchener, Waterloo, Cambridge, Guelph, Woodstock — permit application submitted through the city's online building portal (e.g. the City of Kitchener building permit portal). Review time: 2–4 weeks. Fee: $500–$1,400 depending on scope.
DIY-able? Yes for the layout thinking. Permit drawings usually need a designer or contractor to prepare — most cities want specific detail levels the average homeowner isn't drawing.
Step 3: Utility Rough-Ins (Week 1)
Before any framing goes up, HVAC, plumbing, and electrical trades come in for rough-in work.
- HVAC: new supply and return ducts for the basement, sometimes a new furnace zone
- Plumbing: bathroom rough-in (drains + supply lines), kitchen rough-in if secondary suite, sewage ejector pit if needed
- Electrical: subpanel install if secondary suite, new circuits for lighting, receptacles, appliances
Licensed trades required for all of this. An Electrical Safety Authority permit is required for the electrical work.
DIY-able? No. Skip anyone offering to do rough-in plumbing or electrical without ESA licensing. This is where fires and water damage come from.
Step 4: Framing (Weeks 1–2)
Interior walls framed with 2x4 (interior partitions) or 2x6 (perimeter walls that hold insulation). Every wall plumb, every corner square, every stud on 16" centres. Doorways framed with proper headers.
For legal secondary suites, this is when the fire separation strategy is executed — walls between units get built to accommodate 5/8" Type X drywall on the ceiling and shared walls, as required by the Ontario Building Code.
Egress windows also get cut during this phase if not done pre-framing.
DIY-able? Yes for a competent homeowner willing to do the reading. But if the basement is going to be a permitted secondary suite, get it framed by someone who knows what the inspector will look at.
Step 5: Framing Inspection
The city inspector comes on-site to verify framing meets code. Header sizes correct, fire separation walls properly framed, stud spacing on-code. This inspection has to pass before insulation goes in.
DIY-able? N/A — you just book the inspection with the City and be present.
Step 6: Insulation
Rigid foam board (2" typically) glued directly to the concrete perimeter walls with tape sealing seams. This creates the vapour and thermal barrier. Batt insulation in interior stud cavities where needed for sound.
Rigid foam vs. framing-first-then-batt: the rigid-foam-against-concrete method is code-compliant, moisture-safe, and standard practice in KW for a reason. Batt insulation touching concrete traps moisture and grows mold.
For ceilings: batt insulation in joist cavities between floors, especially between the basement suite and the main floor for sound.
DIY-able? Yes, if the homeowner has done insulation work before and understands vapour barrier detailing. Getting the tape seams right is the whole game.
Step 7: Vapour Barrier + Air Sealing
6-mil polyethylene sheet installed over the wall assembly (in some assemblies — depends on the insulation strategy). Acoustic sealant at every seam, every penetration, every corner. Air sealing is what determines how the finished basement performs long-term.
Common shortcuts contractors take here: skipping the acoustic sealant, running the poly sloppily, using regular tape instead of Tuck Tape. These are the failures that show up 5 years later as musty smells and framing rot.
DIY-able? Yes, if the homeowner is patient. This step doesn't require skill — it requires care.
Step 8: Drywall Hanging (Weeks 2–3)
5/8" Type X drywall on fire separation walls and ceilings. 1/2" drywall on interior partitions where fire separation isn't required. Hung with screws (not nails) on 8" centres on the ceiling, 12" on walls.
Green board or moisture-resistant drywall in bathrooms and areas near plumbing. Cement board on shower walls (never drywall).
DIY-able? Yes for a fit homeowner with a helper. 5/8" sheets on the ceiling are heavy and awkward — this is the step where many DIYers hire out just this piece.
Step 9: Drywall Taping + Finishing
Three coats of joint compound over every seam and screw head, sanded between coats. Finish level determined by end use: Level 3 for textured/matte paint, Level 4 for standard wall paint, Level 5 for glossy paint or feature walls with critical lighting.
Level 4 is standard for basements. Level 5 is expensive and rarely needed.
DIY-able? Yes but takes practice. First-time DIY taping looks OK. Third-time DIY taping looks professional. Most homeowners doing this themselves make peace with a Level 3 finish and paint over it.
Step 10: Rough-In Inspection
The City inspector returns for the rough-in inspection — plumbing, electrical, and framing all verified before drywall gets closed up completely. In practice this often happens in parallel with drywall hanging on some walls to keep the schedule moving.
Step 11: Prime + Paint
Primer coat first (bare drywall soaks up paint). Two coats of finish paint over primer. Ceiling first, then walls, then trim.
Colour choice matters more than you'd think — light warm colours make basements feel less cave-like. High-quality primer prevents flashing on patched drywall.
DIY-able? Yes, most homeowners paint themselves and save $2,500–$5,000. Just budget time.
Step 12: Flooring Installation
LVP is the KW standard for basement main areas. Installed over the vapour barrier (or over an underlay with built-in moisture barrier). Click-lock LVP goes down at 100–150 sq ft per hour once you get the rhythm.
Tile in bathrooms and utility areas — porcelain over cement board or Schluter Ditra membrane.
Carpet in bedrooms if desired — carpet pad + tackless strips + wall-to-wall install.
DIY-able? LVP: yes, moderately experienced DIYer can install it well. Tile: yes if you're patient. Carpet: no — carpet install is a specialized trade.
Step 13: Trim + Doors
Baseboards along every wall. Casing around every door. Doors hung and hardware installed. If secondary suite: fire-rated doors between units.
Trim is where a project either looks "pro built" or "homeowner built." Mitres cut perfectly, nail holes filled, caulk on the top edge of baseboards.
DIY-able? Yes for a patient homeowner with a mitre saw. Practice on scrap first.
Step 14: Fixtures + Final Details
Light fixtures installed by electrician (for anything hardwired). Bathroom fixtures — toilet, vanity, mirror, shower door, exhaust fan cover. Kitchen fixtures if secondary suite. Interconnected smoke and CO detectors installed and tested.
DIY-able? Some. Simple light fixture swaps: yes. Full plumbing fixture install: skip unless you know what you're doing.
Step 15: Final Inspection
City inspector walks through the completed basement. Confirms every code requirement — ceiling height, egress, fire separation, smoke alarms, electrical, plumbing. If everything passes, occupancy certificate issued.
For a secondary suite: this is when the unit becomes legally rentable. For a family finish: this is when the permit closes and the project is done.
The 5 Things DIYers Get Wrong
- Skipping the moisture check. Framing a basement with 15%+ concrete moisture guarantees a mold problem within 2 years.
- Wrong insulation order. Batt insulation against concrete = trapped moisture. Rigid foam first, then batt in the framing cavities.
- Not pulling a permit. Saves $500 upfront, costs $10K when the buyer's inspector flags it at sale time.
- Underestimating trim time. Baseboards, casing, and paint touch-ups are 40% of the total labour hours on a basement finish. DIYers routinely allocate 20%.
- Cutting an egress window without engineering. Poured concrete needs a proper cut, saw cut, and lintel. DIY egress cuts through fieldstone foundations can compromise structural integrity.
The Contrast
Ten years ago finishing a basement in KW took 3–4 months and every trade was booked out to next month. In 2026 the process is 4–8 weeks with tighter scheduling and better material availability — and the full itemized cost breakdown is smaller as a percentage of home value than it was a decade ago. Same result — much less pain.
Ready to Skip the DIY Learning Curve?
We handle all 15 steps for basement projects across Kitchener, Waterloo, Cambridge, Guelph, Woodstock, and Brantford. One point of contact. One phone call to make any question stop.
→ Get a free quote → Call (226) 887-0906 → Read the basement finishing service page for full scope